When you first spin up a site on Hostinger, it lives at a random temporary address — something like red-woodpecker-328274.hostingersite.com. Cute for testing, but you can’t exactly slap that on a business card.
The fix is simple: get a custom domain (your own .com, .net, etc.) and connect it to your hosting. If you’re on Hostinger’s Premium or Business shared hosting plan, you actually get one free domain for the first year. Either way, the steps below walk you through buying (or claiming) a domain and hooking it up to your site.
Step 1: Claim Your Free Domain (if your plan includes one)
If you’re on Hostinger’s Premium or Business plan, good news — you get one free domain for the first year. No need to add it to your cart or pull out your wallet just yet.
From your Websites dashboard, look for the “Claim Free Domain” button.
- Type in the domain you want.
- Check that it’s available.
- Add it to your account.
Once you’ve claimed your domain, skip ahead to Step 4 to connect it to your website.
If you don’t see the free domain option, that just means your hosting plan doesn’t include one. No big deal — keep reading, and I’ll show you how to search for and register a domain the regular way.
Step 2: Search for a Domain
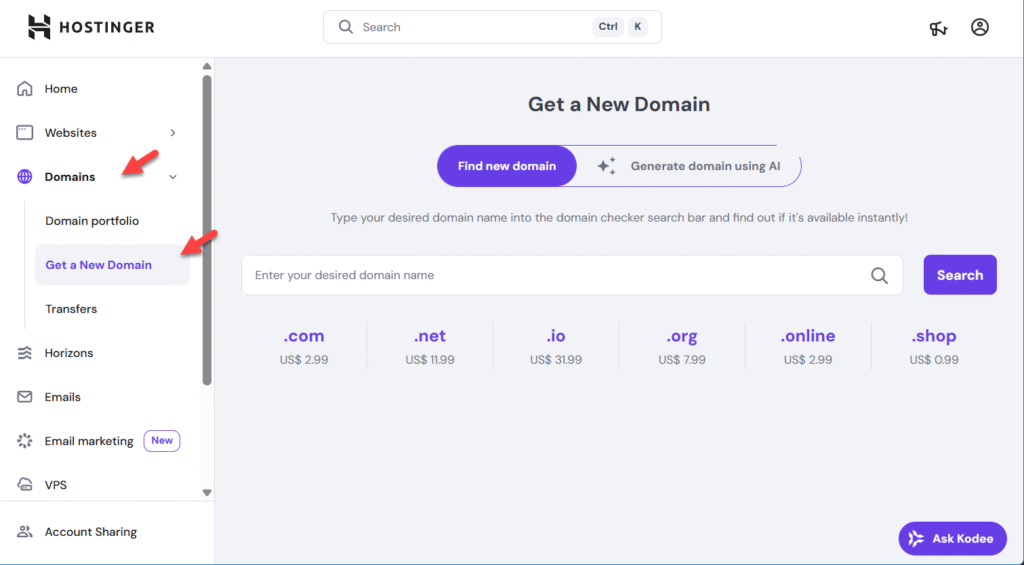
From your Hostinger dashboard, go to Domains → Get A New Domain.
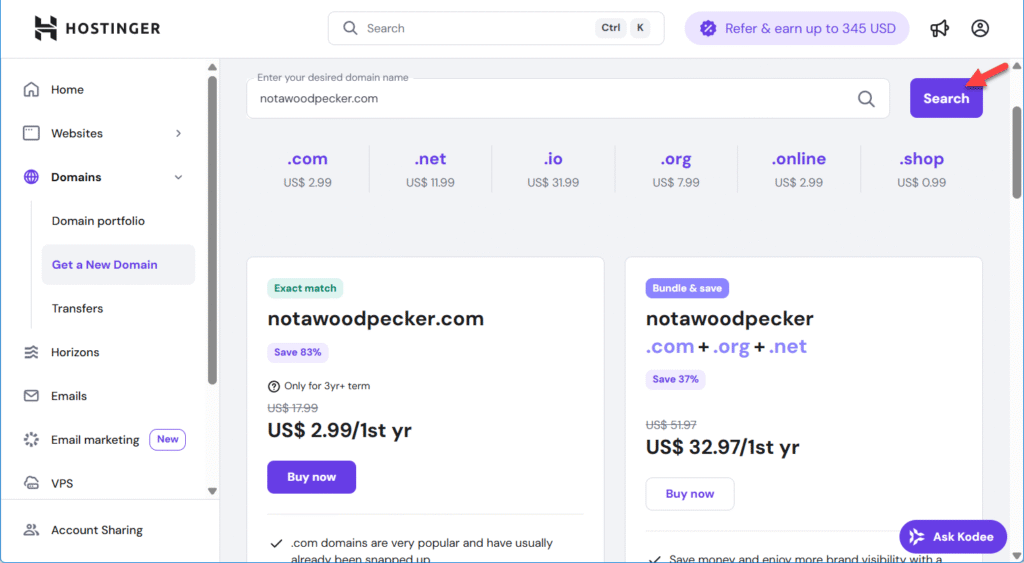
Type the name you want. Hostinger will show you what’s available.
- If your first-choice .com is open, grab it.
- If it’s not, don’t panic — .net, .org, .co, or .io are perfectly fine these days.
- Avoid shady endings like .biz unless you’re deliberately running a 2005 pyramid scheme.
Step 3: Add to Cart and Checkout
Click Buy Now on the domain you want, and Hostinger will take you to the checkout screen.
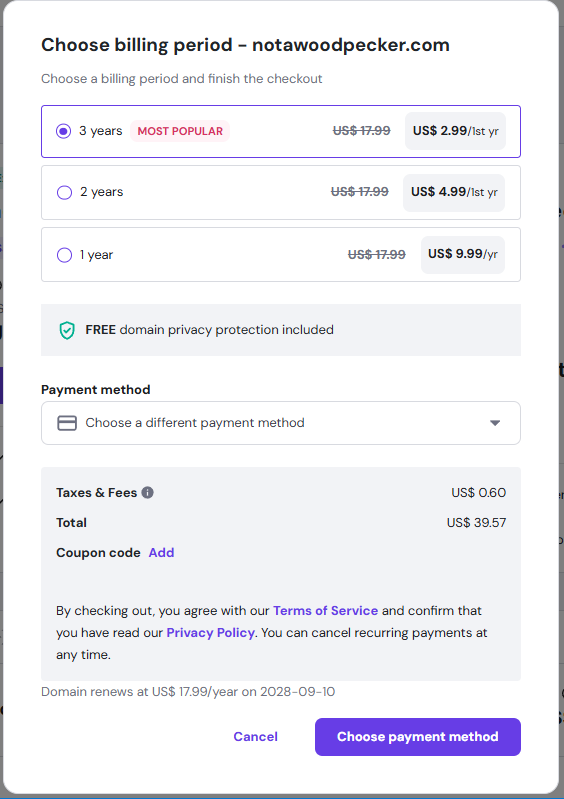
Here you’ll pick a billing period:
- 3 years (recommended): Best bang for your buck. Locks in the lowest price and saves you from dealing with renewals for a while.
- 2 years: Middle option if you don’t want to commit quite as long.
- 1 year: Fine for testing, but costs more per year and you’ll be back here renewing sooner than you’d like.
If you can swing it, go with the 3-year option — it’s cheaper long-term and one less thing to worry about.
Better yet, domain privacy protection is included for free. That keeps your personal info (like your name, email, and address) hidden from public records and spam bots. Leave it on — it’s highly recommended.
Hey future site builders: The prices and features you see here are just examples. Right now, Hostinger throws in free domain privacy and offers some sweet first-year discounts. But hosting companies love to change things, so always double-check the current deal before you hit Buy.
Step 4: Connect the Domain to Your Site
Once you’ve got the domain:
- Go back to your Websites dashboard.
- Find the site you want to update.
- Click Connect Domain.
- Select the new domain you just purchased (or claimed).
Hostinger will automatically connect the two since they’re both in your account.

Step 5: Wait for DNS to Propagate
Here’s the part nobody likes: waiting. Domain changes need to spread across the internet, and that can take anywhere from 30 minutes to 24 hours.
Translation: if your site doesn’t show up at your new domain immediately, don’t panic. The internet’s just catching up.
Wrap-Up
And that’s it — your site is now live at a real address instead of a random woodpecker domain. From here, you can share your link, set up email at your domain, and finally look like a legit operation.
No more bird names — unless you want them.
Leave a Reply